User/Admin Guides
This section focuses on the 4Comply dashboard user interface, the menu options, and how to use them.
If you're looking for API-focused documentation, please refer to the Developer Documentation section.
Developer and Production Dashboards
Developer accounts are entirely separate from live production accounts and accessed via different URLs:
- Developer Account Dashboard - https://dashboard-demo.4comply.io
- Production Account Dashboard - https://dashboard.4comply.io
Sign up
By accessing any of the Dashboards mentioned above, it prompts for your login credentials or to sign up.
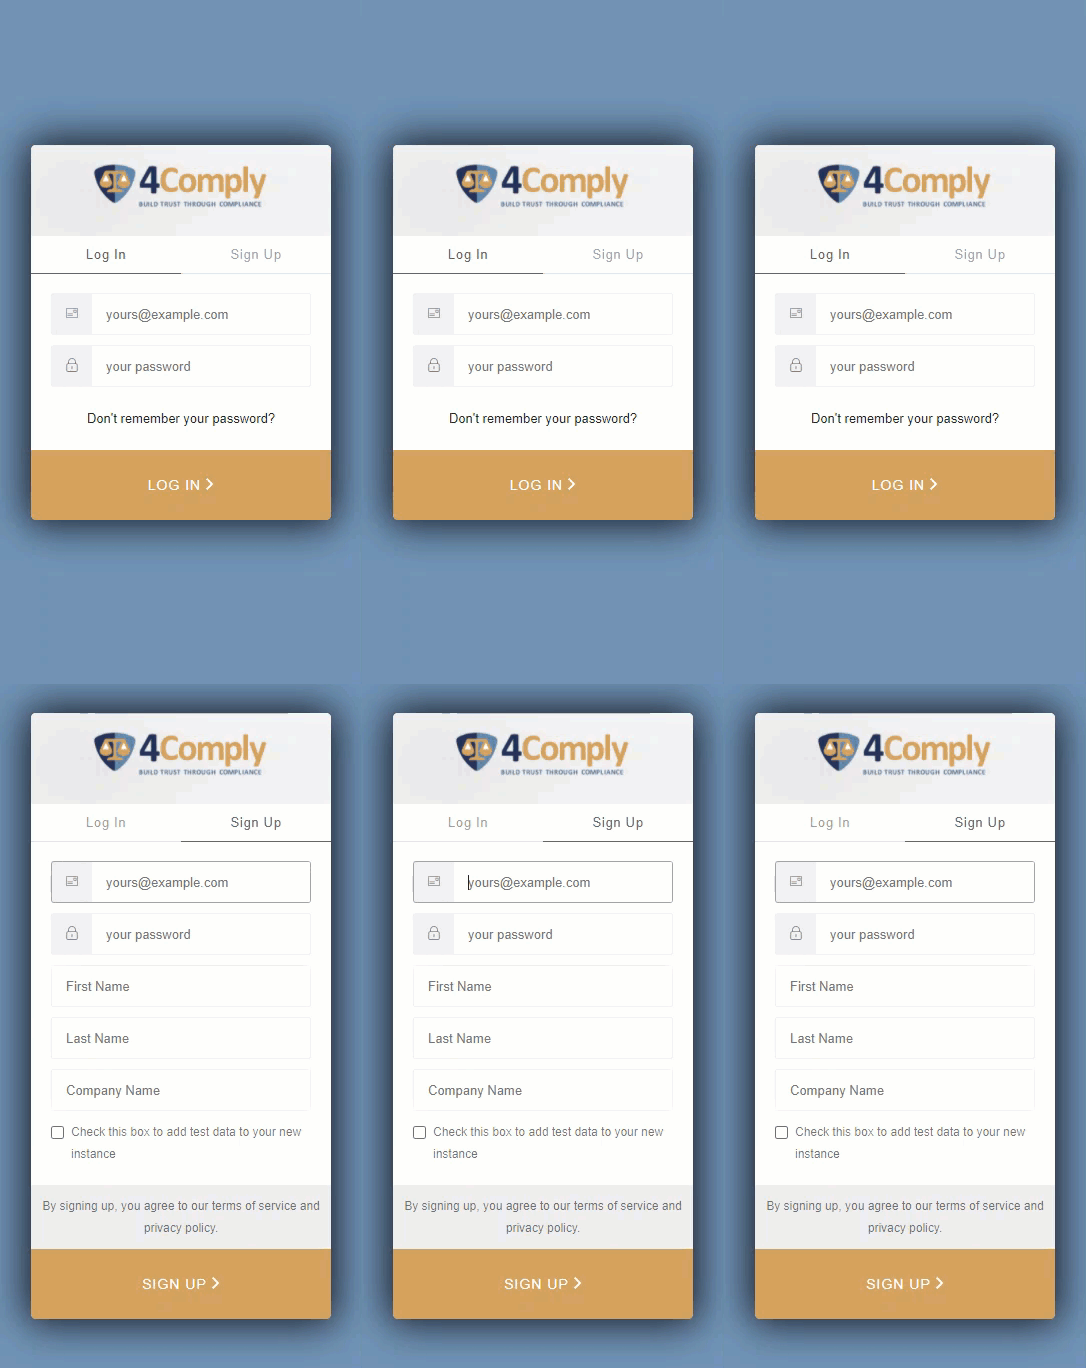
Additionally, when signing up, you have the option to pre-populate the instance with sample data. That way, you can review data formats and data on the dashboards. You need to check the checkbox with the label "Check this box to add test data to your new instance." Note: you cannot remove test data once added.
Multiple Instances
You can add other instances, like a sandbox for testing or another business unit. Instance names are not unique, so you won't run into issues with repeating the name of another instance. However, we recommend using descriptive instance names for clarity (e.g. "ABC Widget" and "ABC Widget - Sandbox").
To add a new instance, enter the new instance name and the instance identifier. The instance identifier helps distinguish your new instance from others—for example, CompanyName - Sandbox. NOTE: this will create a new instance, so only use this option if you want to create an entirely separate 4Comply database
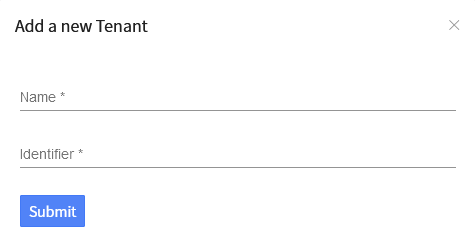
Once you have set up the new instance, you can switch between them by clicking the "Switch Environment" and choose the instance to open. Each instance has all the same features. You can also add users from your default instance to your new instance, and they can switch from one instance to the other by using the "Switch Environment" dropdown.

If an Admin adds you to another 4Comply instance, the dropdown list shows all available instances.
Multiple Languages
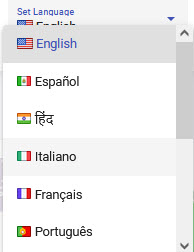
You can choose which language you would prefer to use in 4Comply. Possible languages are:
- English
- Spanish
- Hindi
- Italian
- French
- Portuguese
- German
- Dutch
- Japanese
- Chinese traditional
- Chinese TW
To select a different language (default is English), simply click on the Set Language button, and choose your preferred language

Main Sections
There are six main sections in 4Comply:
- Citizens Rights Fulfillment (configure and track rights activities)
- Compliance Inputs (track compliance inputs, permissions and consent)
- Legal Activities Vault (track all legal activities within 4Comply)
- Human in the loop (HITL) (configure and track HITL tasks and activities)
- Reporting and Segmentation (segment 4Comply data)
- Configuration (configure base components of 4Comply)
Each of these sections is explained in more detail